
There are those of us that love the idea of having a one-off creation, something that encapsulates your personality, style, and flair. Creating a custom piece of furniture is definitely one way to do that. Reading this will help you to understand the process of creating a custom hanging chair or hanging daybed and help you to relax and enjoy the experience of creating something just for you and your home.
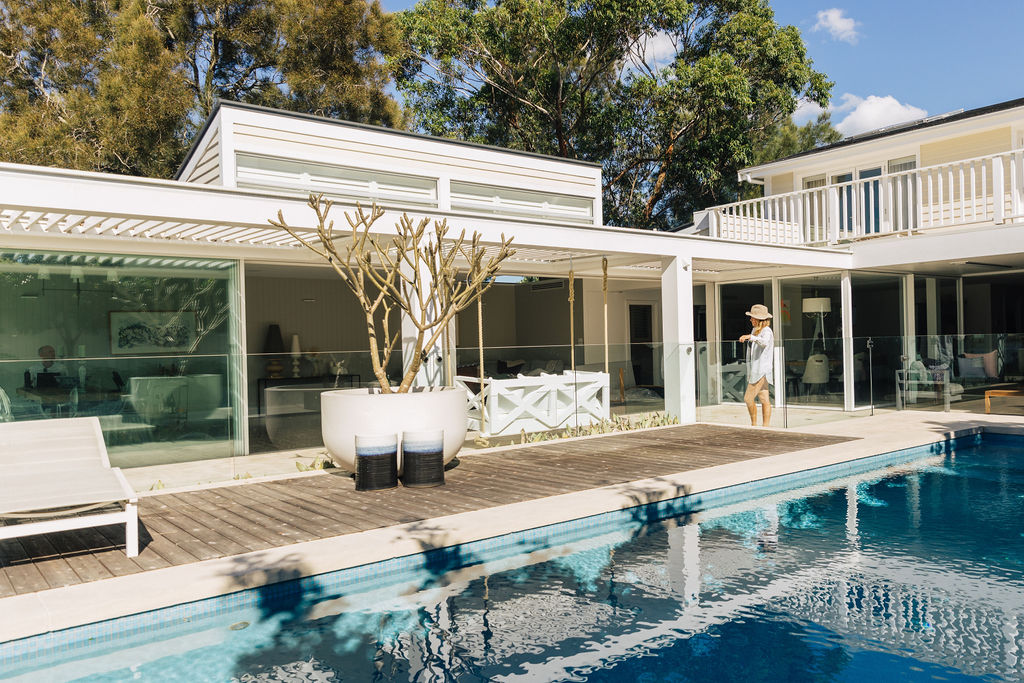
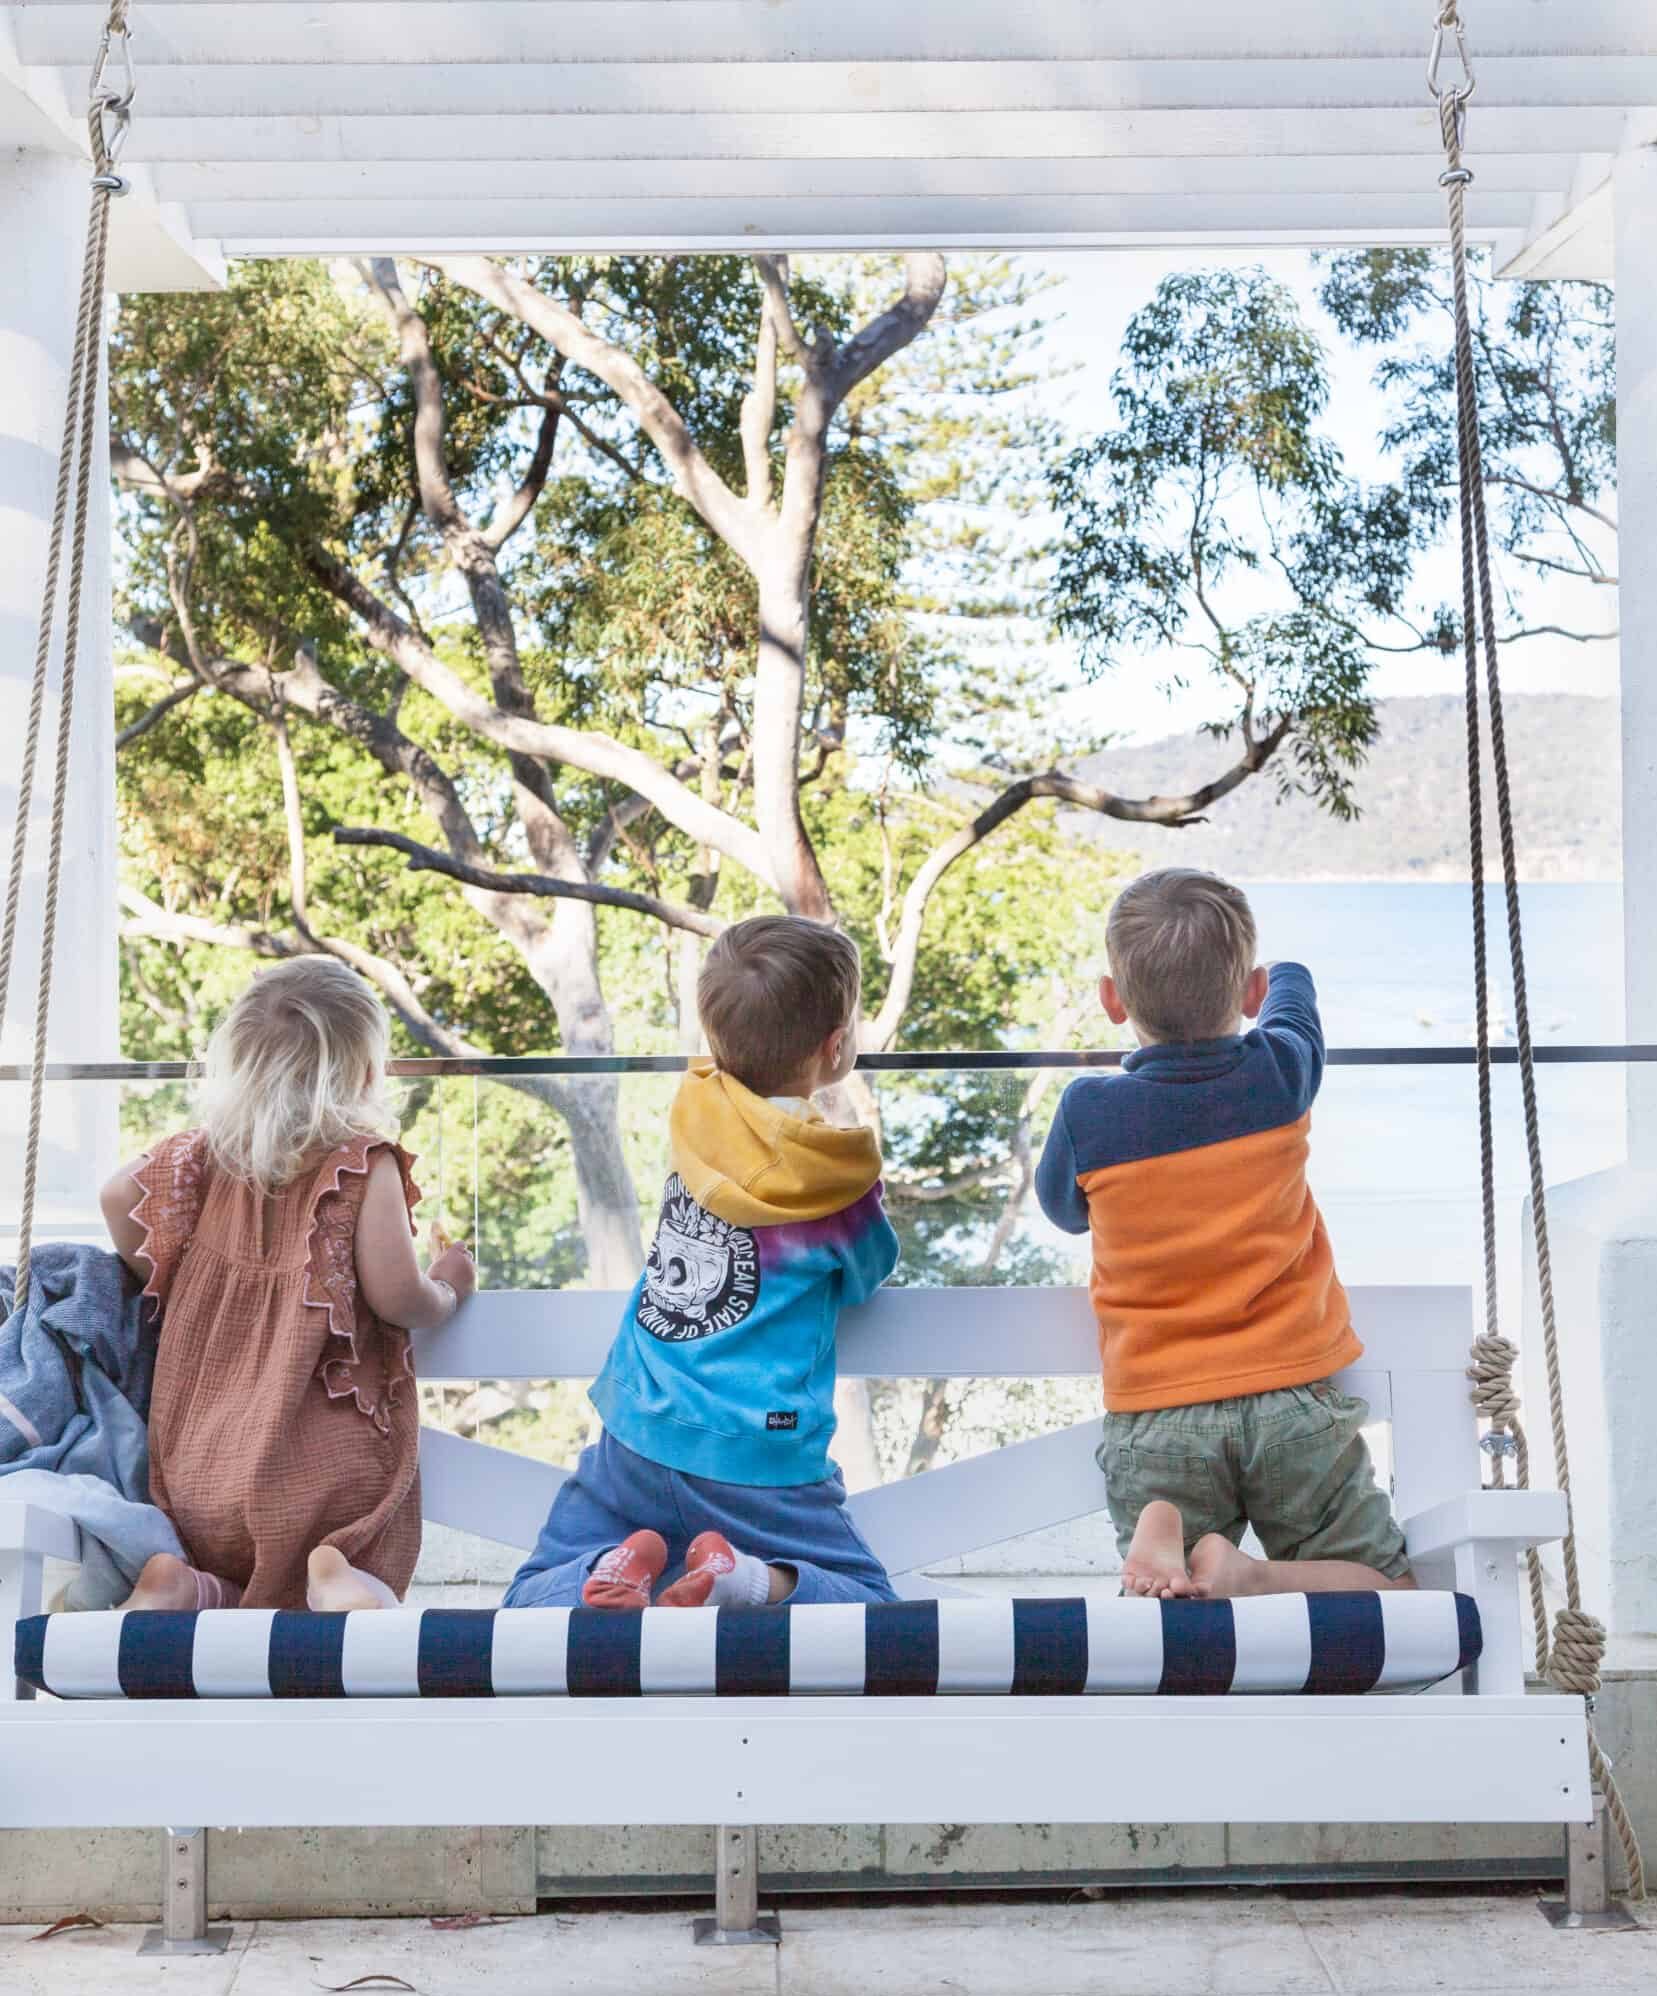
The outdoor hanging chair is definitely one way to create a stylish focal point for your patio or alfresco area. Over the last few years, we are using our homes differently. Many of us are working from home a lot more and may even have kids home-schooling on and off. Our homes now need to have a workspace, living space, and an area for entertaining and relaxing. But even if you don’t have a huge backyard, something simple like a view (even if it’s just your favorite tree in the yard) and a comfy swing can go a long way to creating a lovely little Zen space.
Here at Cartia Collective, we love a custom project. Big or small. We love to create each piece with a story and the person in mind. Be it a house-warming gift, a special Birthday gift, or just a gift to yourself because you’ve always wanted a hanging chair and now you can.
We love to over-deliver, make the whole experience fun and exciting, and combine our skills and passion with your desire.
So from our experience, we’d love to share with you our top tips for how to start a custom outdoor hanging chair design project.
It’s important to gather inspiration however it comes. These days Pinterest and Instagram are key sources of inspiration for people, however, gathering ideas and inspiration from all sources can prove useful. Other furniture, fabric patterns, the environment, can all provide you with the ability to unleash your creativity.
Hand sketches are all welcomed, even if you think you cannot draw, we love to see some visuals! Use mark up on the images as to what you like about it and save all pics in a file for easy finding and sending.
Work out in your space where you would ideally like to hang the swing. If you have a location then you need to assess how close the hanging chair would be to things like a back wall or balustrade, a window, or would it be obstructing a natural walkway? Generally, we say that a minimum of 500mm back clearance is needed for any swing, after all, you want to be able to actually.. swing on it!
The next step is to figure out if your roof where you want to hang the outdoor swing is going to be suitable as is, or does it need extra support. If you are in the middle of a renovation or about to embark on that journey, you may have a few key people around you that can offer some assistance. A landscaper or builder is a great source of knowledge and can properly assess your roof to give you a clear idea of hanging the hanging chair. It’s also good if you are in the early stages of a build or reno that you discuss the swing with them in the planning phase. It is often much easier to plan for the additional support at the start than add, correct and adjust once it’s completed.
In most scenarios, however, there is always a way to hang the swing. Some are more straightforward than others! We are here to help as well and can also do the installations. You can check out the starters guide here.
This is the fun part, where we get to discuss ideas, products, fabrics, timbers, rope, and everything in between. This part takes time and is a process so that we can everything just right. This is the point we will confirm the design, materials and give you an idea of the budget for the project.
If you have a date that you want to work towards having your project completed, please let us know in the early design stage. Try and allow plenty of time. On our end, the time frame to complete a project really depends on the size and complexity. On average we say you need to give yourself a minimum of 6 weeks. Once we have finalised a design, we will talk about your timelines and ours.
Once we have the design, you’ve worked out the suitability of your roof, we need to decide on final measurements. Our daybed size usually starts at around 780mm in depth while the hanging chair measures around 550mm in depth. Also, the hanging daybeds are generally longer in length than the hanging chairs.
Have an idea of what you are happy to spend, consider the possibility that you may need to pay someone to hang the swing. We will always give you a preliminary cost upfront and once the design is completed and agreed upon a final invoice amount will be discussed. We would usually take a deposit at this stage to begin works then the final outstanding amount would be due upon completion of your project.
This is one of our favorite parts! Showing you the progress pics and updates so that you feel present throughout the whole journey with us.
Hanging Daybeds vs. Egg Chairs: The Backyard Battle You DIDN’T Know You Needed
Let’s face it, folks. We all dream of that picture-perfect backyard sanctuary. But between you, me, and the internet, there’s...
Creating Indoor-Outdoor Flow For Your Home
As Seen In House & Garden Above Features the Outdoor Hamptons Hanging Chairs with Mallacoota Charcoal Base Cushions The...
Elevate Your Airbnb Guest Experience: Creating a Relaxing and Instagram-Ready Backyard
In the competitive landscape of Airbnb rentals, standing out is essential to attract guests and ensure a memorable stay. While...
Tips and tricks for keeping your outdoor cushions looking fabulous all year round
Let’s face it, the only thing better than new outdoor cushions, are clean ones! Thankfully, there are plenty of ways to...
Ways To Create A Coastal Feel For Your Home
Looking to create an outdoor space to unwind in? Here’s how to achieve a coastal vibe in your backyard, including with...
Top Tips When Choosing Outdoor Furniture
This is what you need to know when looking for outdoor furniture and how to make the right decision for your home. There can...
Cartia Collective Custom Builds
Top tips on how to collab to create a custom design outdoor hanging chair There are those of us that love the idea of having a...
How to create zones in your backyard to help create that perfect outdoor space for your home
How to create that indoor outdoor flow for your home
We pride ourselves on craftsmanship blended with affordability to create unique yet timeless hanging chairs that will lighten up any outdoor space in your home.
We are an Aussie family business that loves the outdoors and loves creating products to enhance the connectivity within the landscape. Swings are a beautiful way to appreciate the quiet moments but also connect with others.
We invite you to create your own barefoot luxury style with our swing chairs.
We use wherever possible local Aussie suppliers, businesses and eco-friendly products.

Copyright © 2022 Cartia Collective. All Rights Reserved